|
Welcome to the slideshow! If you see this then your browser doesn't support
the text-changing features of the slideshow; however, all the text should
appear below.
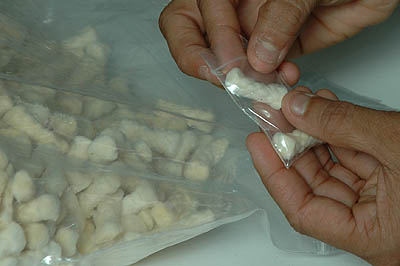
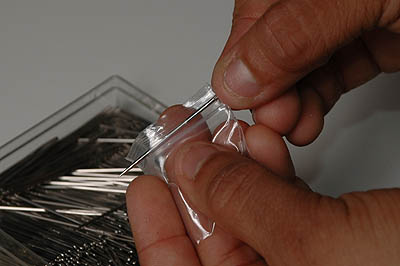
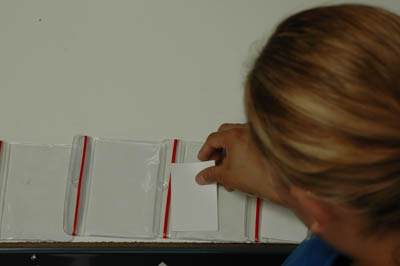
Those mil-spec Spark-Lite Tinder-Quik tinders don’t jump into that plastic bag themselves...
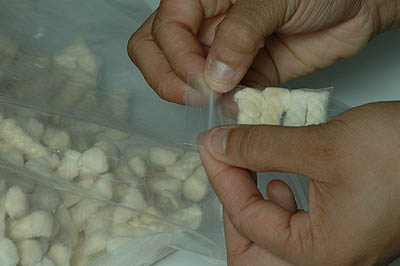
...Each piece of Tinder-Quik tinder has to be inserted into the small zipper lock pastic bag. After all four are inside, the bag is sealed, being careful not to trap excess air inside.
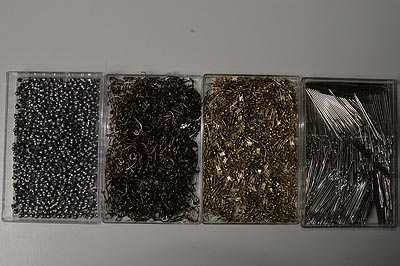
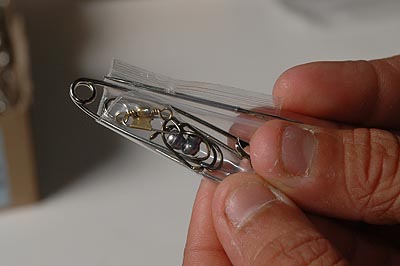
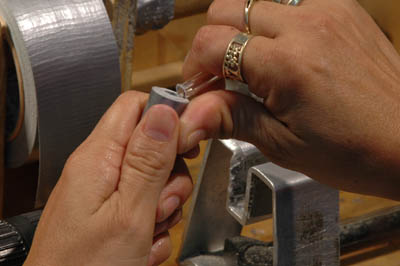
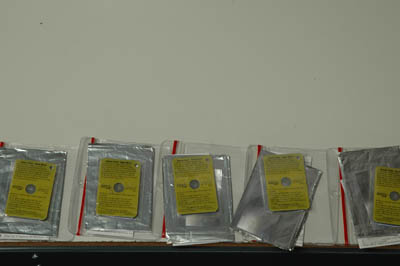
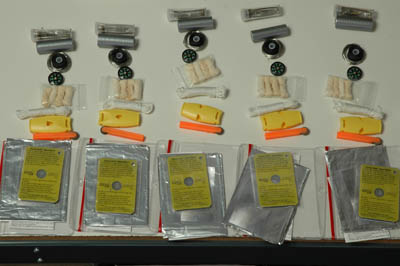
The fishing kit combines multiple components...
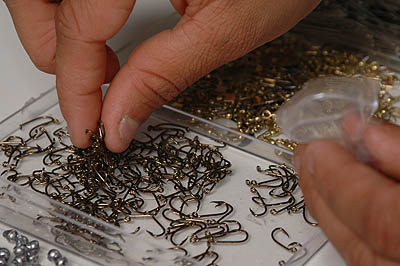
...and the razor sharp Mustad brand bait fish hooks are not the easiest to pick up from the pile without either injury or hooking a whole mess of them...
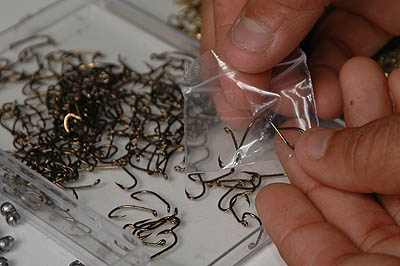
...they’re then carefully inserted into the small zipper lock bag...
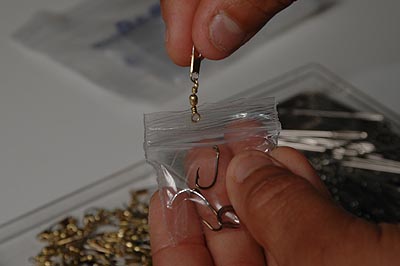
...followed by a brass snap swivel...
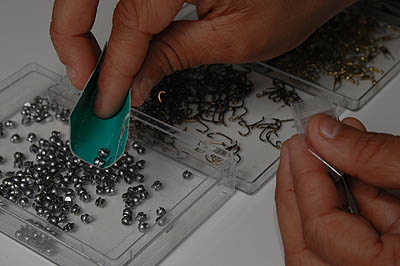
...the split shot is picked up using a small piece of cardboard...
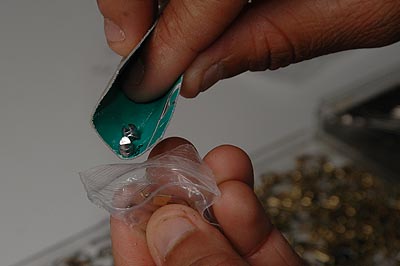
....that is then used to slip them into the bag...after which it is carefully sealed...
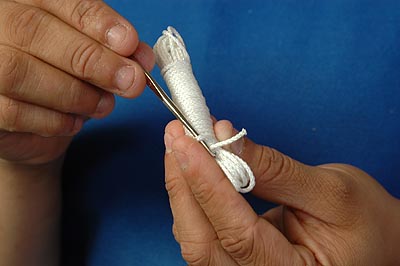
...then the heavy duty sewing needle is stuck through the top of the bag to ensure it doesn’t rattle inside the vial.
Two of the four Safety Pins are rolled inside the packaged Fishing Kit...
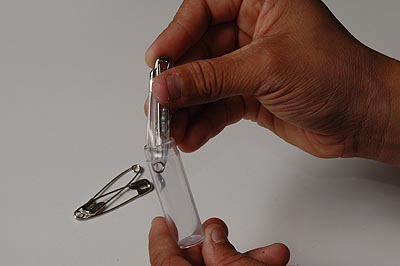
...and the rolled up Fishing Kit is inserted into the plastic Vial with the sharp end of the Sewing Needle facing down so it will not draw blood when you go to unpack the Vial...

...then the other two Safety Pins are inserted into the Vial...
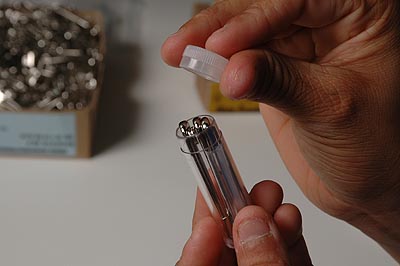
...and finally, the cap is put on the Vial.
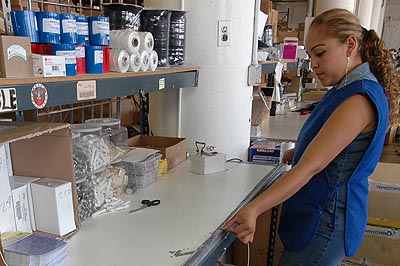
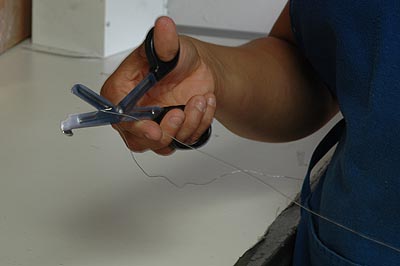
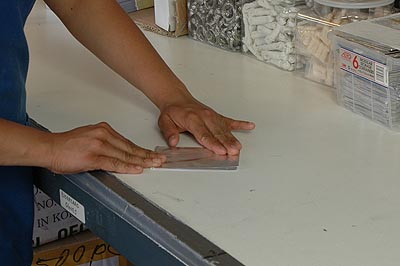
The Braided Nylon Cord is first measured to 10 feet...
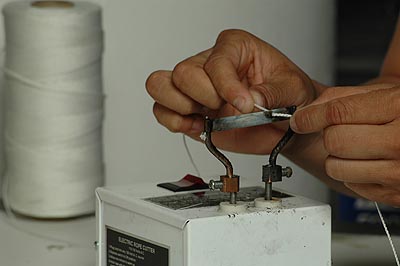
...and is then cut using a "hot knife" to seal the ends.
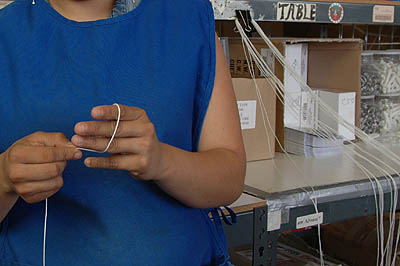
Each 10 foot length of Braided Nylon Cord is then hanked, which starts by looping the Cord around three fingers (those with fat fingers need not apply)...
... until there is a specific length still left uncoiled...

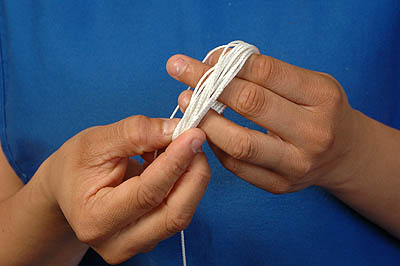
...this left over length of Cord is then spiral wrapped around the coils, which is a lot harder than it looks to do neatly...
...finally, a crochet hook is used to pull the end of the Braided Nylon Cord under the last turn to secure it in place.
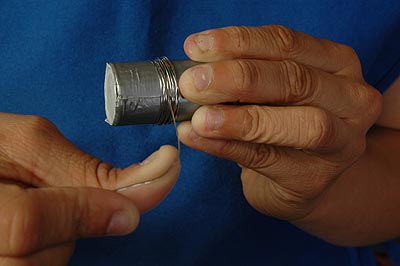
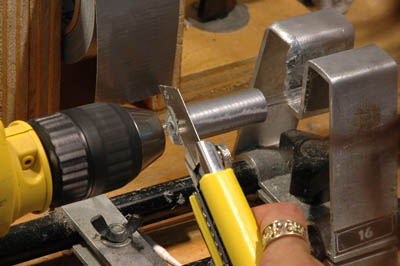
Creating a 6-foot coil of .020 Stainless Steel Utility Wire starts with measuring it out from the rolls of aircraft grade lock wire...
...then using EMT Shears to cut it (those shears really will cut trhough a penny).
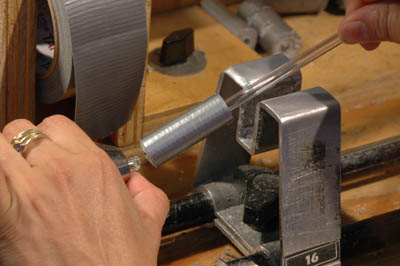
The wire is then coiled tightly around a cylinder (this takes considerable hand and finger strength to get a tight coil)...
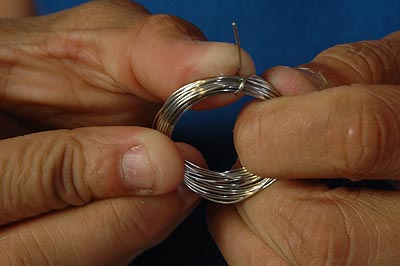
...the next step is to tightly wrap the end of the Utility Wire around the coil...

...ending with using the tip of the EMT shears to make sure the end of the wire is tucked into the coil to prevent injury.
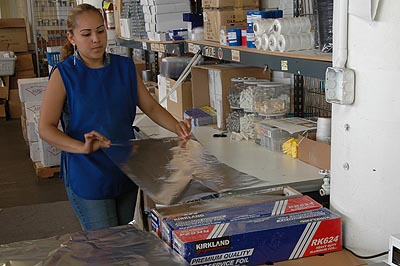
3 square feet of Heavy Duty Aluminum Foil is first cut to length...
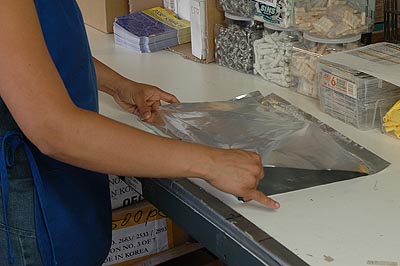
...then is folded the first of 5 folds to get it small enough...
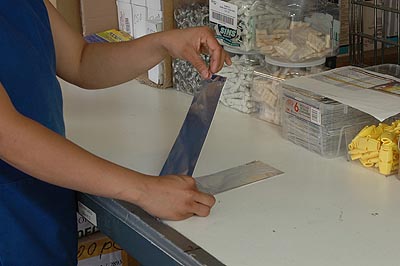
...and folded again, and again, and again...
...and again until it is the right size to fit into the pouch.
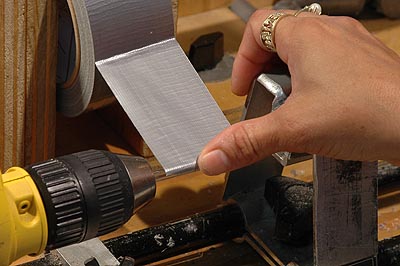
Those little rolls of Duct Tape are each individually rolled, starting with a plastic tube chucked into a drill motor...

...a quick spin of the drill motor later and the roll is ready to be cut off with a utility knife...
...which is then used to score the plastic mandrel on both ends...
... so it can be broken off at the chuck...
... and then the tail end is broken off by hand. The plastic tube is then chucked up again for the next roll...
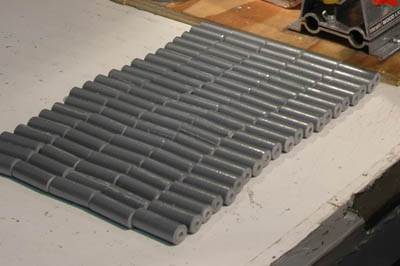
... and eventually you have a whole mess of little rolls of Duct Tape. Do this for a few days and you will have enough for the next batch of kits to be assembled.
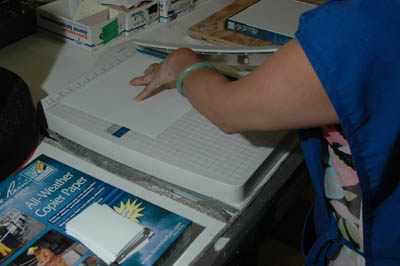
The little pieces of waterproof notepaper start out as 8 1/2 x 11 inch sheets of Rite-In-The-Rain, that are then cut into strips...
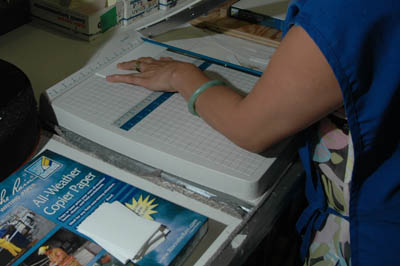
...and then each strip is cut into three pieces itself.
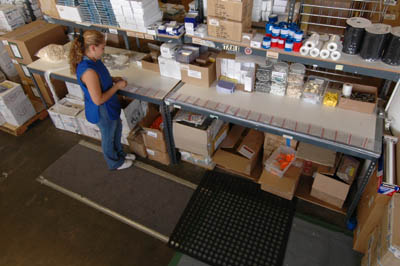
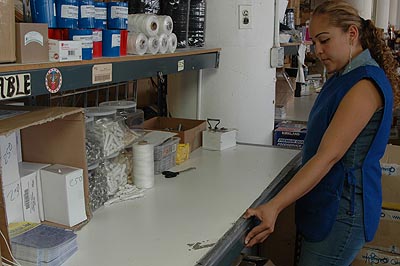
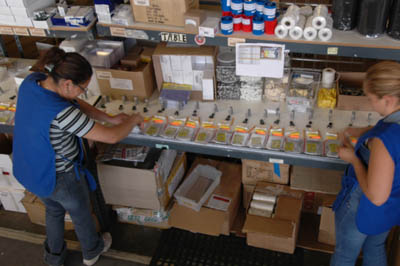
Final assembly begins with laying out 25 pouches on the table...
...upon which all the flat components, the Contents List, Note Paper, Survival Instructions, Scalpel Blade,...
...HD Aluminum Foil, Fresnel Lens Magnifier and Rescue Flash Signal Mirror are placed in the correct order...
...then above the flat components, the remainder of the Pocket Survival Pak™ componets are laid out.
Before final packing, a Quality Control person goes through each and every group of components, item by item, to ensure nothing is missing...
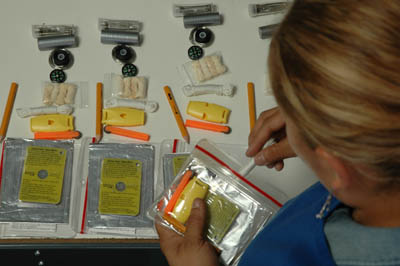
...and only after the Quality Control check is completed are the componets inserted into the pouch.

Clamshell packs are laid out and the Pocket Survival Pak™ is laid into each clamshell pack, then the printed materials, including the Bonus Survival Information is placed on top and the clamshell pack closed.
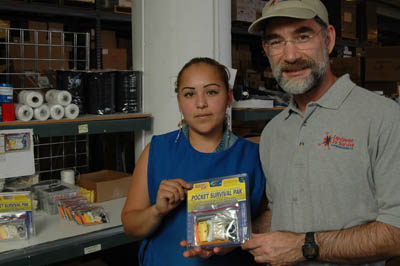
Rosa Barajas and Doug Ritter with a completed Pocket Survival Pak™.
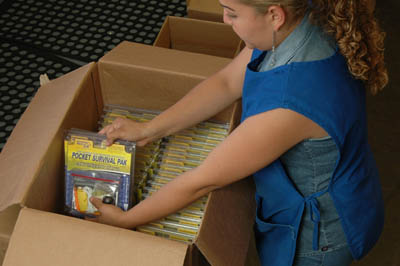
Finally, the completed Pocket Survival Paks™ are packed up in boxes of 100 to await shipment to your favorite retailer.
|